
How to install the SideWinder™
Ready to update your old manual crank awnings or tilting windows with the SideWinder™? Here’s how to do it.
The SideWinder™ is an easily installed upgrade that quickly converts old manual windows, vents, and awnings into electrical operation without altering them completely. It’s as simple as popping off the knobs and sliding the SideWinder™ on top of the cranks. Once secured, you add an electrical lead and run the SideWinder™ on 12-volt power. It can be used on both old windows and new ones. The SideWinder™ features a safety switch that prevents operation with the window screen removed.
Have you purchased the SideWinder™? Trying to determine if it’s the right upgrade for your windows? Read on to learn just how easy it is to install it.
Before you get started: You should know the SideWinder™ can only be installed on properly operating scissor arm style window operators. Operators more than a year old must be replaced before installation.

Every SideWinder™ kit contains the following:
- One SideWinder™ electric RV window operator
- Four #10-24 Nylon insert lock nut
- One drill template
- Two replacement window operators (For kits ending in ‘-XXXX’ only)
- Four Ø3/16” x .450” blind rivets (For kits ending in ‘-XXXX’ only)
You will need:
- Eight high-quality lithium AA batteries
- IN-LBS torque wrench
- A 3/8” socket
- A Phillips screwdriver
- A 7/32” drill
- Blind rivet install tool (For kits ending in ‘-XXXX’ only)
How to install the SideWinder™
Please read all instructions through before starting. You may need to omit or add some steps.
1. First, start by removing the window screen. Set it aside.
2. Remove the knobs from operators. If you are installing on a new window operator, skip to step six.
3. Otherwise, remove the operator from the window frame and discard it.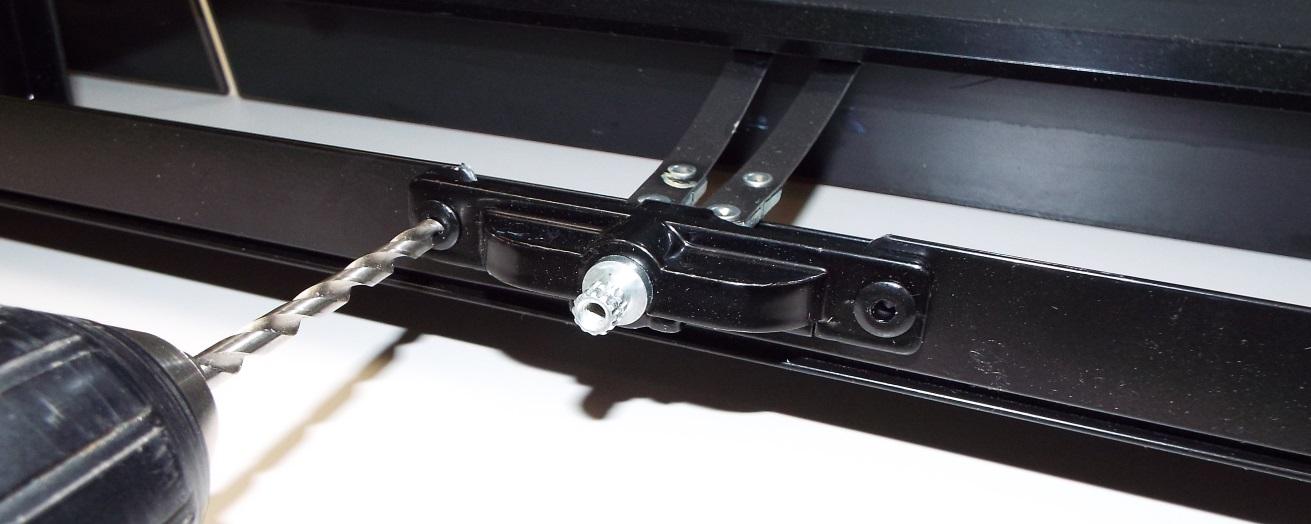
4. If there is a travel limiting bar installed in the channel, you will remove and discard it. For improved performance, lubricate the channel before proceeding.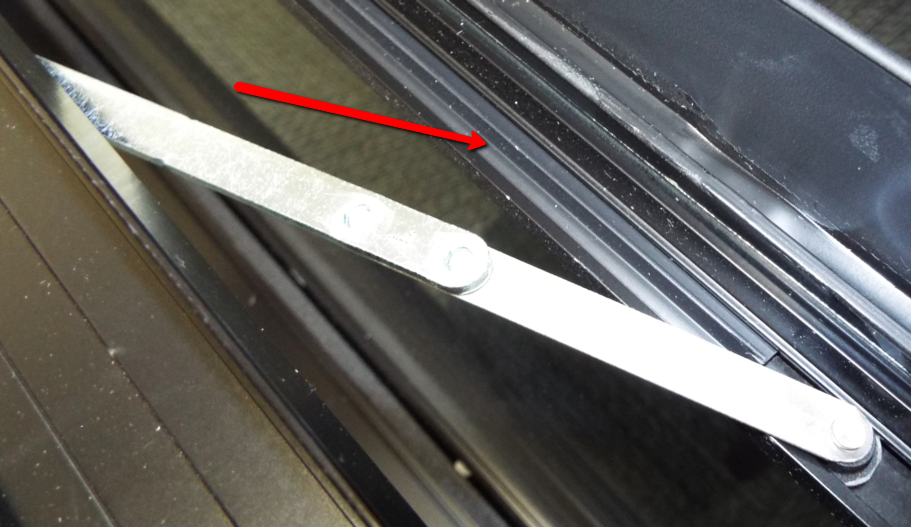
5. Install the new operator to window frame using 3/16” x .450” blind rivets. Ensure the operator arms are nested in the window channel.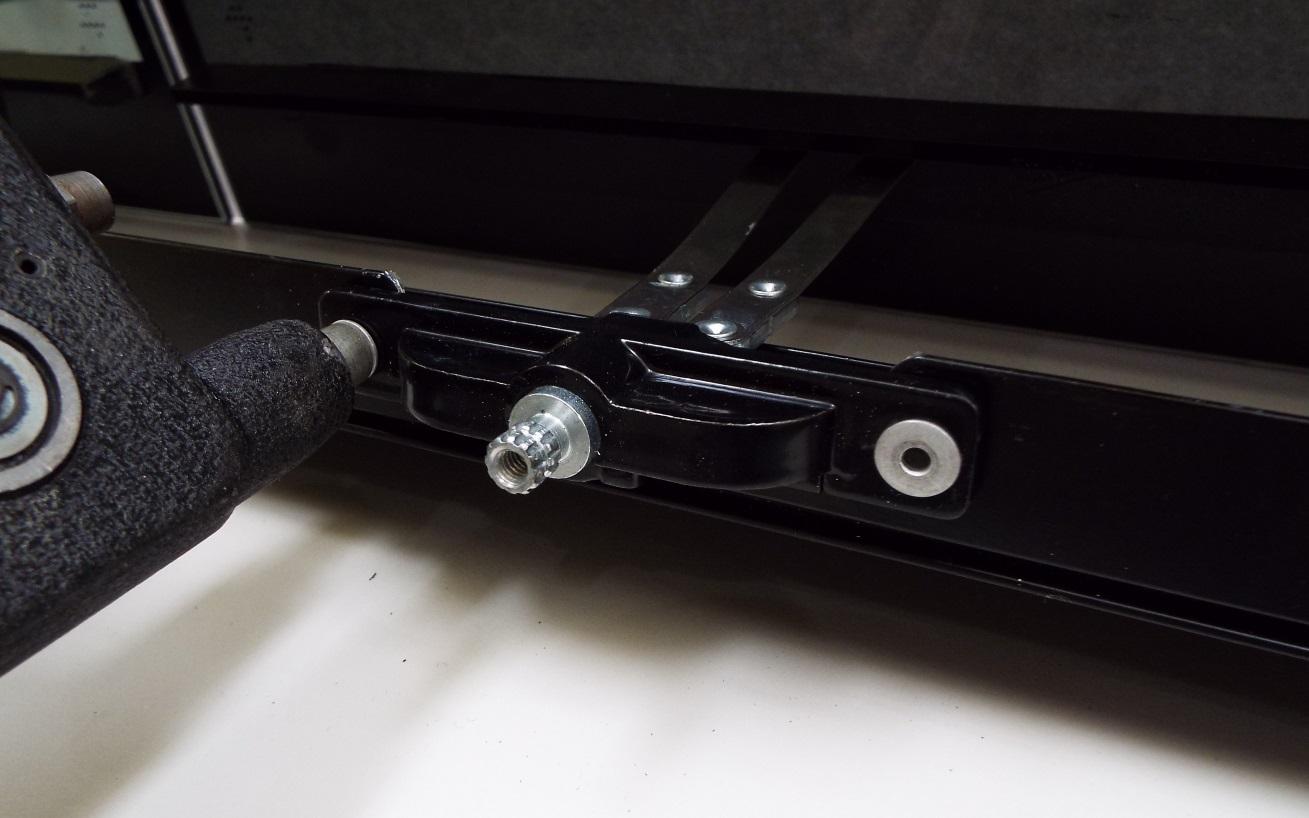
6. Remove any sealant around the operator, if present. Place the drill template that came in the kit over the operator and drill 2 7/32” holes into the frame. Repeat on all operators on the window and debur.
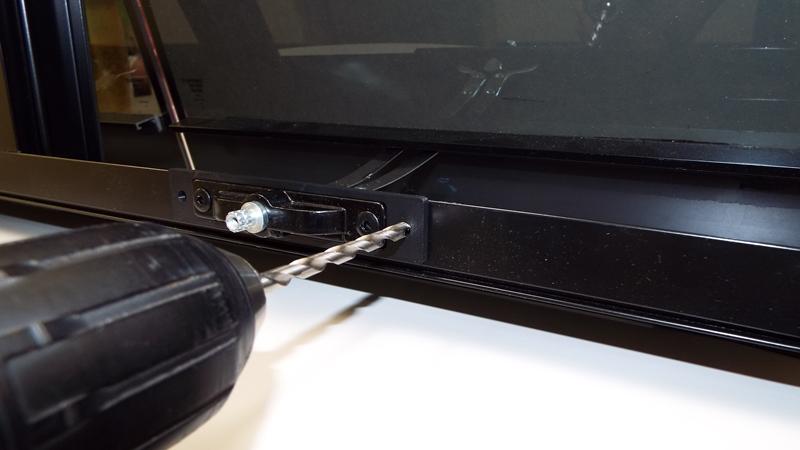
7. Connect the red wire to 12V+ to coach supplied source. Connect the black wire to coach ground. If you are installing with the battery pack option, remove the battery packs and insert high-quality Lithium AA batteries in each battery pack. Reinstall the battery pack and ensure it’s attached to the hook and loop.
8. Slide the SideWinder™ onto window operator splines. If difficulty aligning splines occurs, depress the safety switch located on window screen side of the SideWinder™ and jog SideWinder™, using rocker switches, until splines engage. Then, push the SideWinder™ fully against the window frame.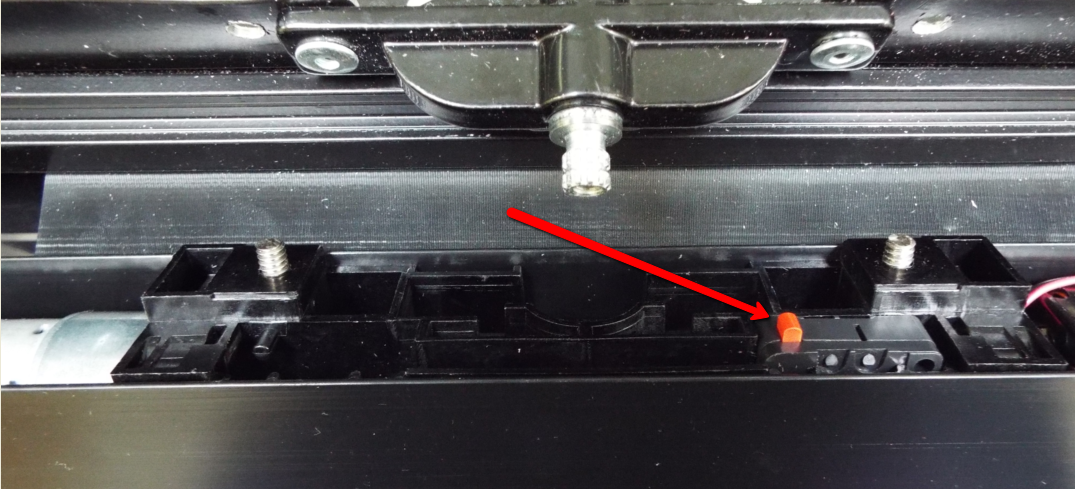
9. Thread nuts onto the bolts protruding through the frame. Torque nuts to 10-15 IN-LBS.
10. Reinstall the window screen into the window.
11. Operate the SideWinder™ to its full extent to ensure proper operation.
There you go! Now that the SideWinder™ is installed, you don’t have to hassle with manual opening and closing. Congratulations on your upgrade!


